As educators, one of the most common challenges we face is helping students with letter reversals, particularly when it comes to confusing the letters “b” and “d.” It’s important to note that it’s actually quite common for children to reverse letters like b and d until they are around seven years old. This is called mirror writing.And with the right tools and strategies, such as the Orton-Gillingham multisensory approach, we can help students overcome these reversals and build a solid foundation for reading and writing.
Why is b and d confusion so common?
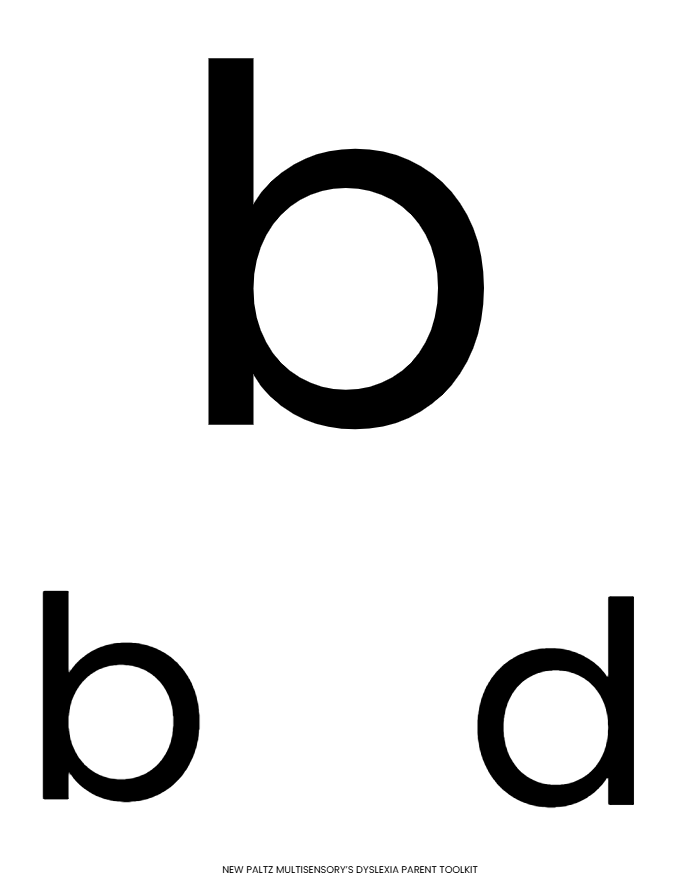
Lowercase letters b and d are mirror images of each other. They both include a tall line and a circle, but just reversed, so if you hold a lowercase b in front of a mirror, it reflects a d, and vice versa.
This can be a really challenging concept for a lot of students! In real life, the position of items and objects don’t determine what the object is. Think about it this way – a chair is a chair whether it’s upright, lying on it’s side, flipped upside down, etc.
So it’s really not too surprising that b/d letter reversals and confusion occur so commonly. Lowercase p and q also often get confused with b and d, because these letters are basically the same, just flipped and turned in different positions.

The Orton-Gillingham Multisensory Approach: Key Strategies for Tackling B and D Reversals
B and D reversals are a common occurrence in early childhood and even into the early elementary years.The Orton-Gillingham approach, a research-based and multisensory method for teaching reading and spelling, offers highly effective strategies for addressing this issue. By engaging multiple senses—sight, sound, touch, and movement—students can better internalize the differences between “b” and “d” and gain the confidence they need to succeed.
1. The ”b-hand”
The b-hand is a multisensory anchor that students can use to learn with confidence whether or not a letter is a b or a d. The student can place their b hand next to the letter in question and compare the shape of their hand with the shape of the letter in front of them.
The best part about a b hand is that students always have their hands with them, making it a built-in sensory tool that they have at their disposal at all times!
While some practitioners may choose to introduce both a b-hand and a d-hand, we prefer to stick with just a b-hand to eliminate any potential confusion with students not knowing which is which. When a student learns to rely on just their “b-hand”, they will come to know that if the letter matches the b-hand, it’s a b, and if it doesn’t, it’s a d.
How can I teach my students the “b-hand” strategy?
- Show students the following page. Grab it here.
- Show students how to make a b-hand.
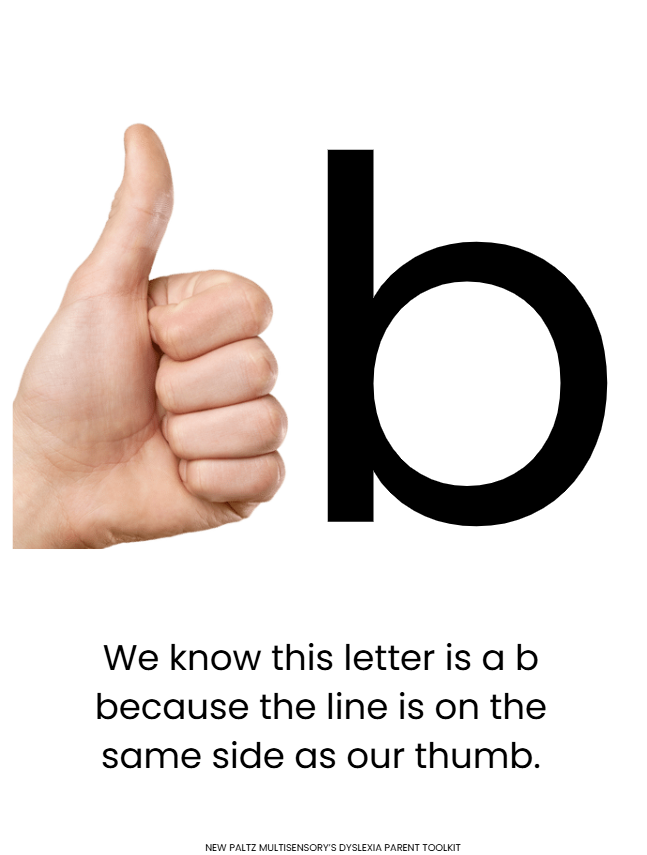
- Show students that the b-hand has the same shape as the letter b. Draw attention to the fact that the ball of the fist is like the circle on the b and the extended thumb is like the line.
- Practice with student how to use the b-hand to differentiate between a b and d.
- Ask probing questions like “Is this a b or a d?” “How do you know?” Sample response: because the line on this letter is on the same side as my thumb.
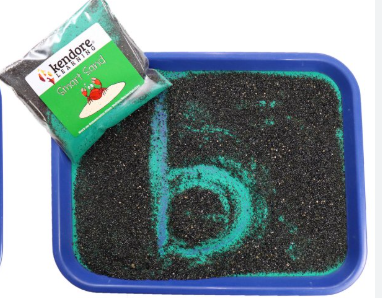
2. Tactile and Kinesthetic Strategies
By incorporating touch and movement, students can better internalize the shapes of the letters. Have students trace the letters in the air or on textured surfaces like sandpaper to reinforce the shape of “b” and “d.” You can also have students use their whole bodies to form the letters. For instance, they could make the letter “b” by standing with their arms outstretched and bending their bodies to form the curve, while “d” can be made with the body by creating the straight line and then curving the arms to form the circular part of the letter.
3. Repetition and Consistency
Repetition is key when working with b and d reversals. Consistent practice of activities that focus on sound-symbol correspondence, alongside visual and tactile cues, will help students build automaticity in recognizing and producing the letters correctly. These strategies should be practiced daily, both in structured lessons and informal activities.
We know this type of repeated practice can start to feel daunting and students may tend to disengage. That is why we’ve developed two tools that align with the Orton-Gillingham approach to help your students tackle their b and d reversals. These resources combine multisensory strategies with engaging games and activities designed to make learning both fun and effective:
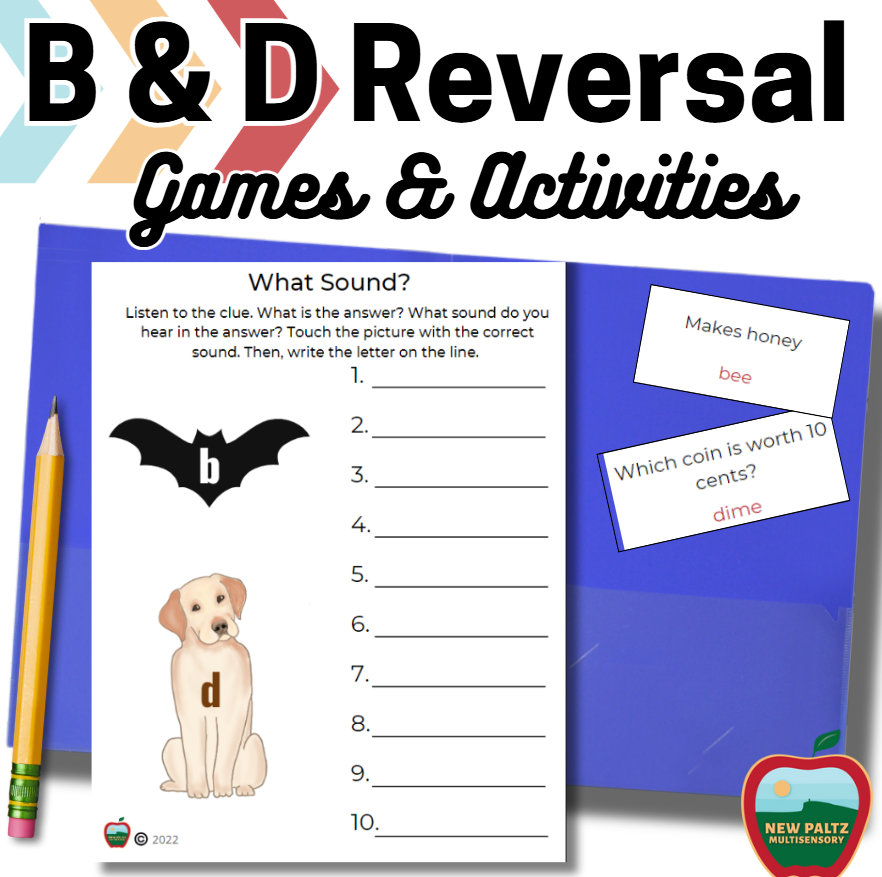
- B and D Paper-Based Activity Pack
Our activity pack is a hands-on resource full of multisensory games and activities designed specifically to reinforce sound-symbol correspondence between “b” and “d.” Like many of our products, we have designed it specifically with the older struggling reader in mind. Many of our upper elementary students are still struggling with b and d and it can be hard to find appropriate resources for them without presenting concept that feels too juvenile.
- B and D Digital Activity Pack
For those who prefer digital tools, we’ve created a digital version of our activity pack. This version offers the same great multisensory activities but in an interactive, digital format that can be easily accessed on computers, tablets, or other devices. The digital activities are perfect for remote learning, as well as for teachers and parents who need quick access to engaging, easy-to-use activities for reinforcing letter formation and sound recognition.

A Free Teaching Resource to Support Your Efforts
We also understand how important visual aids can be in helping students grasp the differences between b and d. That’s why we’re offering a free B and D Visual Aid Teaching Poster to help reinforce the concepts you’re teaching in the classroom or at home. This colorful, easy-to-understand poster offers visual cues that students can refer to as they practice writing and reading the letters b and d. The poster is designed to be a simple, yet effective tool that supports the multisensory approach by offering quick reference material for students who need a little extra help.
Get your free B and D Visual Aid Teaching Poster HERE!

Conclusion
With the right approach, b and d reversals don’t have to be a roadblock to literacy. By using the multisensory strategies of the Orton-Gillingham method and incorporating engaging tools like our paper-based and digital activity packs, you can help students move past these common challenges and develop strong, confident reading and writing skills.
Don’t forget to grab your free B and D Visual Aid Teaching Poster and begin using these powerful multisensory techniques today! Whether you’re a teacher or a parent, these resources are a valuable addition to your toolkit for supporting struggling readers.