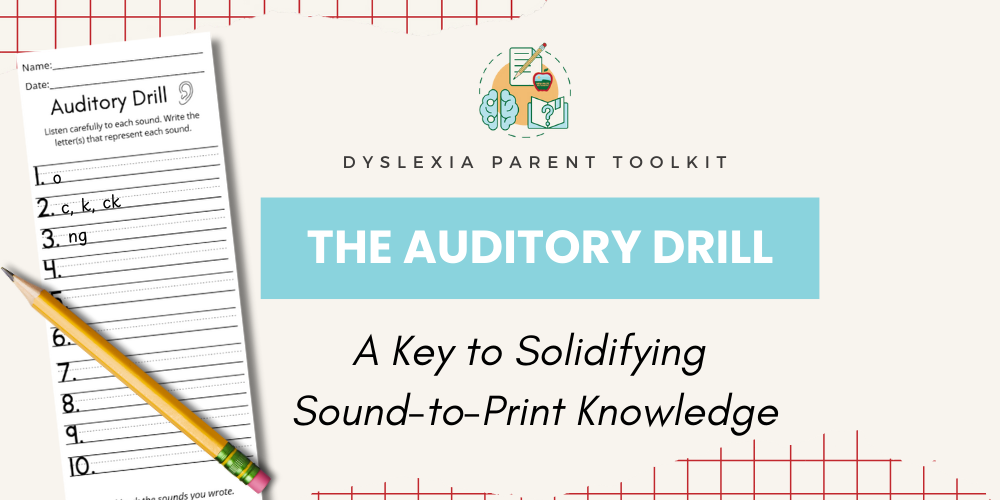
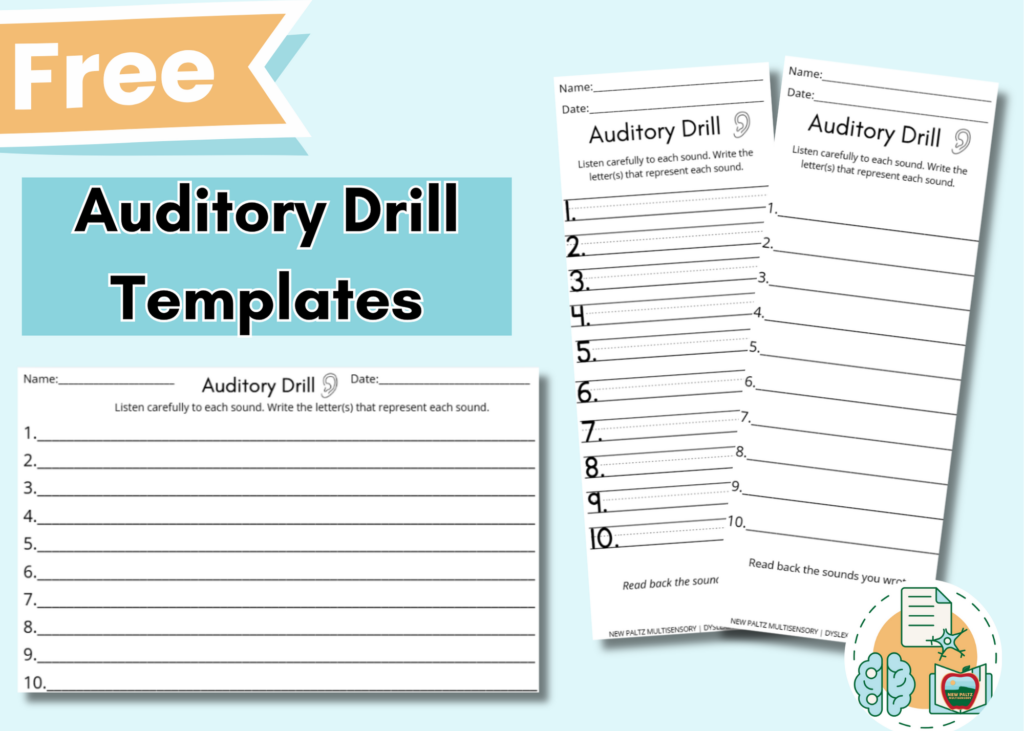
In this week’s blog post, we will explore the importance of another component of the Orton Gillingham 3-Part Drill: The Auditory Drill. In case you missed it, be sure to check out our previous blog post discussing The Visual Drill HERE. And be sure to grab our FREE Auditory Drill printable templates while you’re here!

As teachers and parents, we’re always looking for practical, effective ways to help struggling readers gain a solid understanding of sound-to-print relationships. One of the simplest—and most powerful—ways to do this is through the auditory drill, a foundational tool in the Orton-Gillingham (OG) approach. And the best part? It’s incredibly easy to implement, requires just a few minutes of your lesson time (literally 2-5 minutes), and can yield remarkable results.
What makes the auditory drill so effective is its ability to build upon itself over time. As you introduce new sounds and spellings to your students, they will gradually weave those into their growing “drill pack” of previously learned phonograms. This means that every time you revisit the auditory drill, students reinforce both old and new knowledge, connecting their understanding of how sounds and symbols work together.

The auditory drill is a key part of the Orton-Gillingham 3-Part Drill, which also includes the visual drill and the blending drill. These drills work together to strengthen students’ letter sound awareness and improve their decoding and encoding skills, particularly for students with dyslexia.
So, how can you start using the auditory drill in your structured literacy lessons? Let’s break it down.
How to Implement the Auditory Drill
- Say the sound (phoneme) in isolation: Start by clearly articulating the sound you want your students to practice. This could be any phoneme that they’ve already been introduced to.
- Students echo the sound: Have students repeat the sound back to you. This step ensures they are hearing and producing the sound correctly, reinforcing their auditory memory.
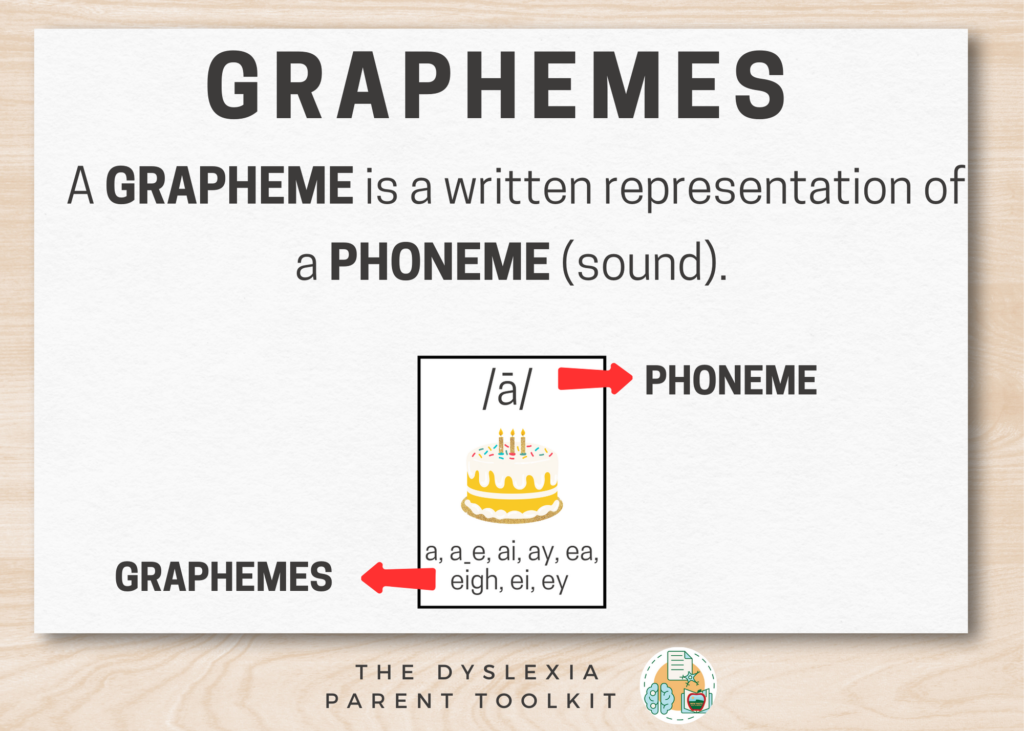
- Students say the letter(s) as they write the corresponding grapheme: As students hear the sound, they will simultaneously write the letter(s) or letter combination that represent the sound. This step strengthens the connection between the sound and its written representation.
That’s it! It’s literally that simple. After you’ve finished dictating a set of sounds during the drill, have your students go back through the list, saying and writing the sounds again, this time in reverse order. This repetition helps deepen their sound-symbol connections.

Why It Works: Strengthening Sound-Symbol Relationships
For students with dyslexia or other reading struggles, connecting sounds with letters is often a major challenge. The auditory drill helps address this by creating a multi-sensory experience: students listen, repeat, and write. Each of these actions reinforces the sound-to-symbol relationship in different ways, increasing the likelihood that they will remember it.
As your students progress through the drill, they will internalize these sound-symbol connections. With regular practice, they’ll begin to recognize and apply these relationships more quickly when reading and spelling, which builds both their fluency and confidence.
A Note About Error Correction
Immediate feedback is a crucial part of any effective learning process, and the auditory drill is no exception. If a student makes a mistake during the drill—whether by saying the wrong sound, writing the wrong letter, or having trouble recalling the sound altogether—immediate error correction should be provided.
For example:
- Teacher says: /b/
- Student echoes: /b/, but writes “p.”
At this point, instruction stops, and the teacher provides immediate, corrective feedback:
- Teacher: “Actually, /b/ spells ‘b’. Let’s fix that! Write the letter ‘b’ while saying /b/ three times, and trace the letter on the tabletop with your finger.”
- The student repeats the process, reinforcing the correct sound-symbol association.
By correcting errors on the spot, you help ensure that students don’t reinforce incorrect responses. This instant correction helps the right information stick in their minds, making it more likely they’ll remember it next time.
The Benefits of the Auditory Drill
- Time-efficient: You can implement it in just a few minutes, making it a perfect way to start or end a lesson.
- Builds phonemic awareness: Helps students strengthen their understanding of sounds and how they map to letters.
- Improves spelling and decoding skills: Reinforces letter-sound correspondence, which is crucial for reading and writing success.
- Provides targeted support for dyslexia: The repetition and multi-sensory nature of the drill make it an effective strategy for students with dyslexia or other learning difficulties.
Conclusion
Incorporating the auditory drill into your structured literacy lessons is a straightforward yet highly effective way to support struggling readers. By providing consistent, focused practice on sound-to-print connections, you can help students build a strong foundation for reading, spelling, and writing.
Ready to implement the auditory drill in your classroom or home learning routine? With just a few minutes of practice each day, you’ll be amazed at how quickly your students begin to strengthen their phonemic awareness and boost their reading skills. Stay tuned for our next post in this series, where we’ll dive into the visual drill and how it complements the auditory drill!
Interested in Learning More Ways to Support Your Child’s Literacy Development?
We have the perfect opportunity for you to connect with fellow parents and literacy professionals to help you better understand how to best support your child. Join our new membership, The Dyslexia Parent Toolkit, for just $9 a month and you’ll get immediate access to informative modules diving into deep into dyslexia-related topics that will help you support your child so that they can learn to read successfully.


2 Responses
Dyslexic Therapist will only give students with dyslexia fluency goal (WPM). Which means a student is exited out of their program within one to two years. Also rumor has it if a child struggles with a lesson the entire group must continue onto the next lesson.